

Choose your columns
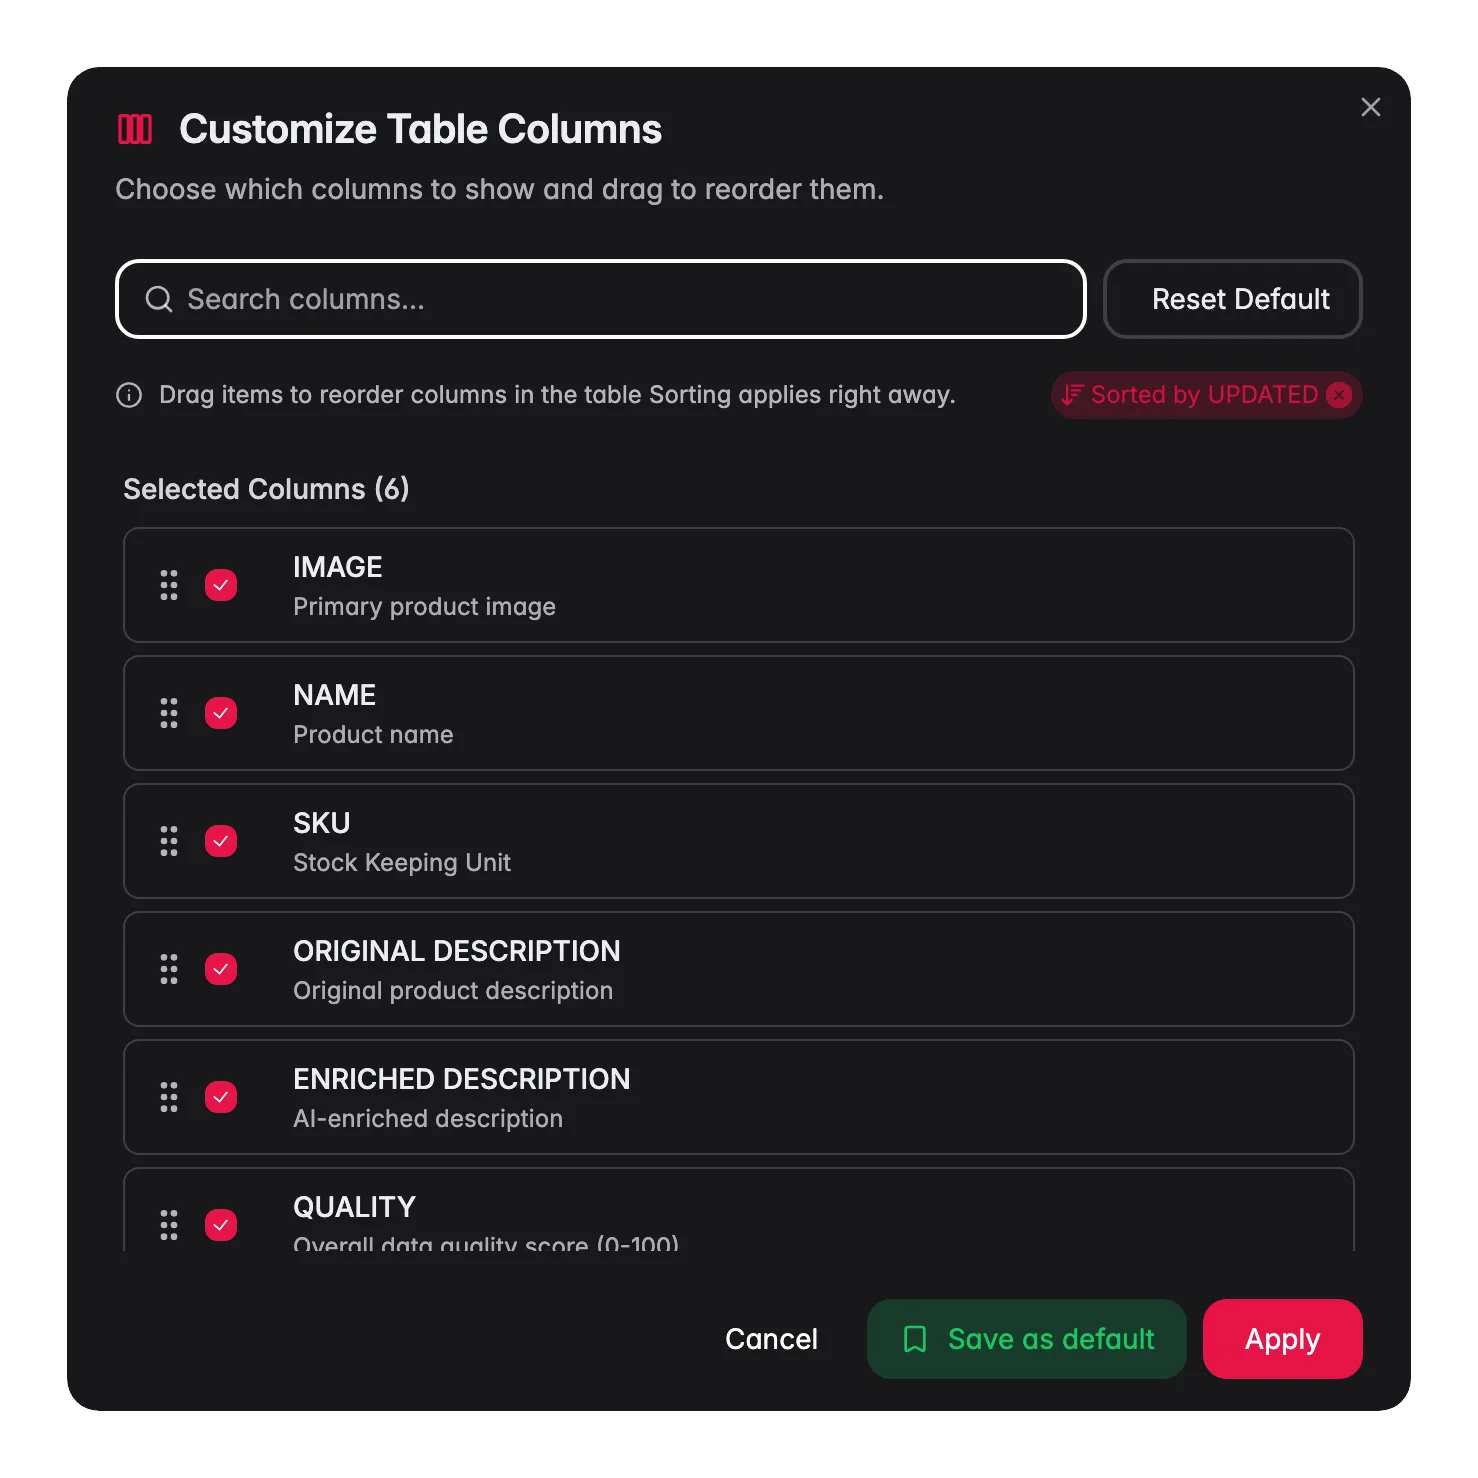
Click the Columns button in the toolbar to open the column selector.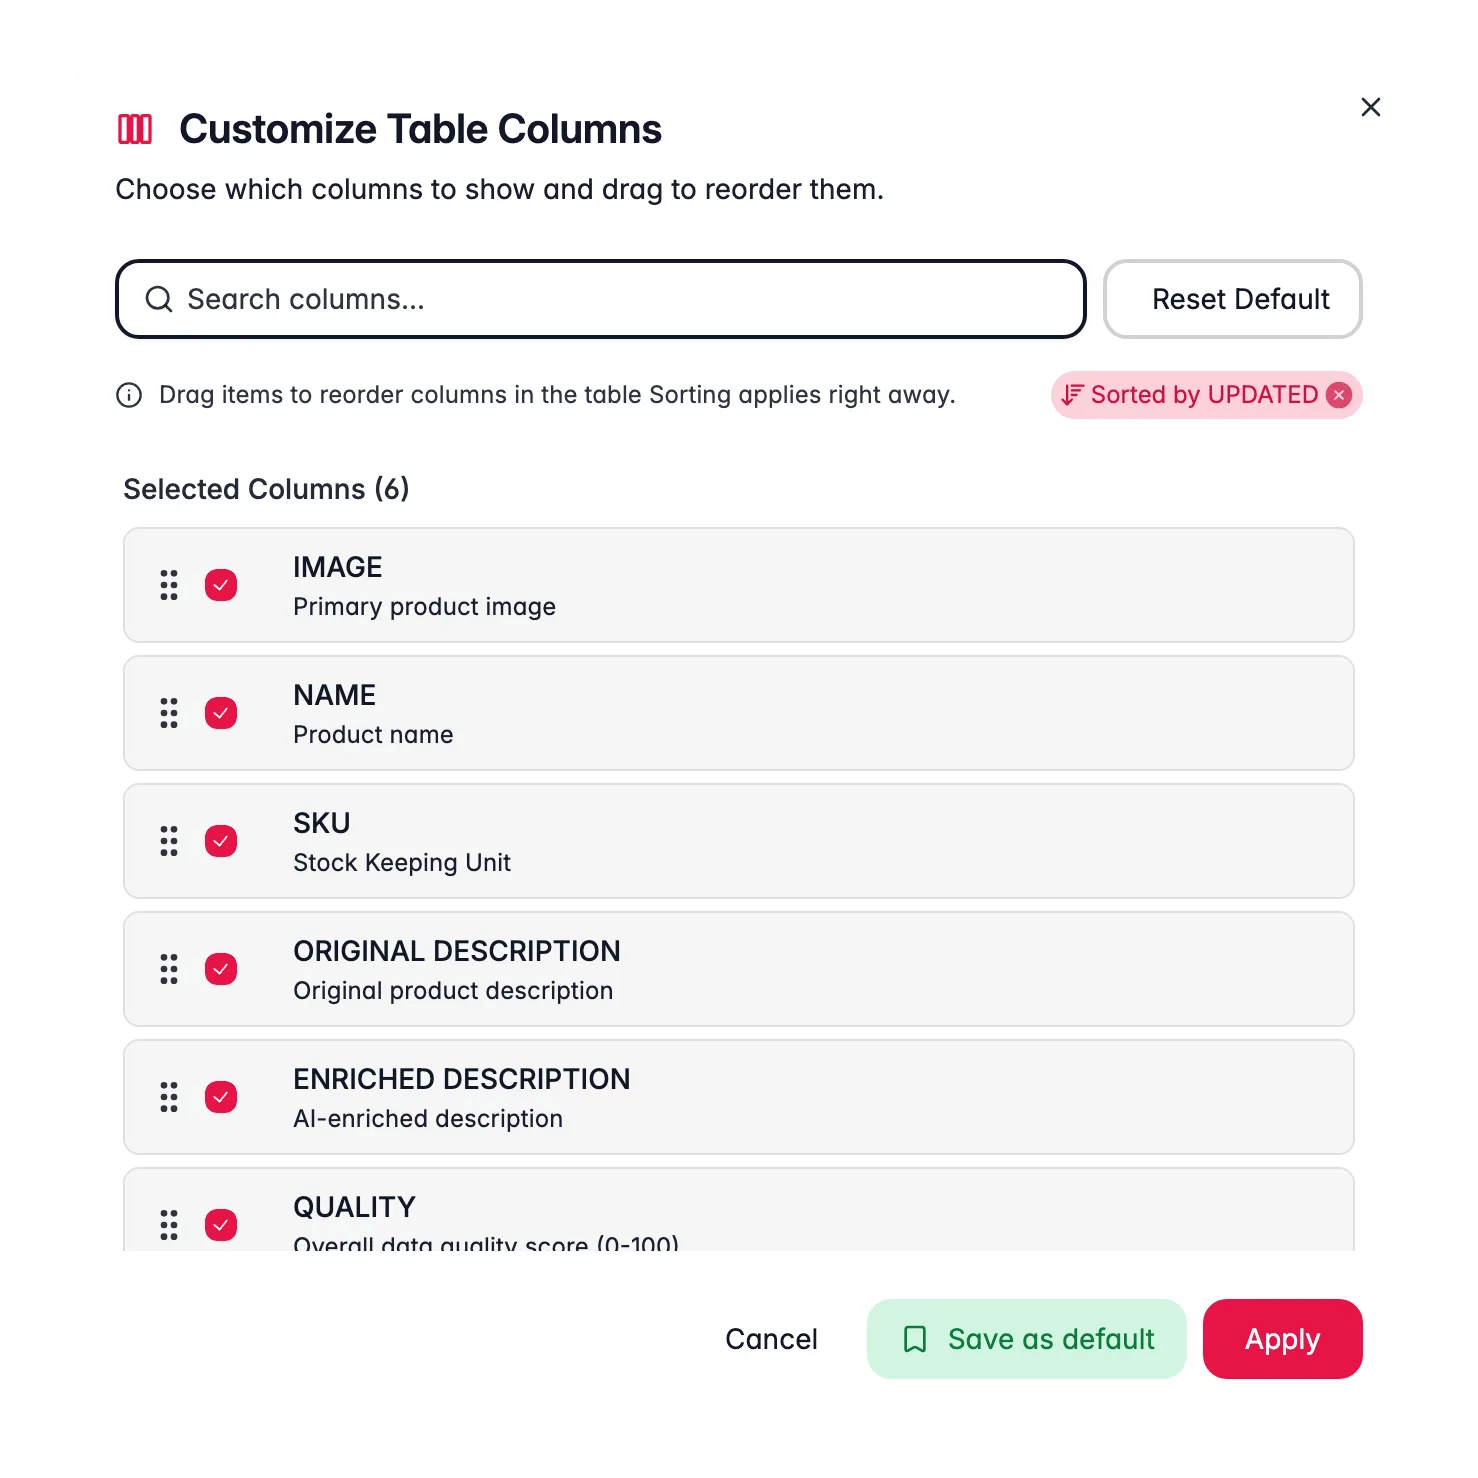
1
Open the column selector
Click Columns in the toolbar.
2
Show or hide columns
Check a column to show it, uncheck to hide it. Use the search box to find columns fast.
3
Reorder columns
Drag columns up or down in the selected list to change their order in the table.
4
Apply
Click Apply to update your view. Click Save as default instead to apply now and make these columns (and sorting) the project default. The toast “Default columns saved” confirms it: “Next time, your columns will look like this.”
- Default columns: standard product fields (Name, SKU, Price, Status, and more)
- Custom attributes: fields from your attribute groups and product families
The Actions column is always visible and locked to the right of the table. You cannot hide or move it.
The AI PROMPTS column
Add the AI PROMPTS column to see which prompt last wrote each product’s content. The cell shows the prompt title with a version chip (for example “v3”) and the field it wrote (Description, Titles, SEO metadata, and so on). When several fields were enriched with different prompts, the cell adds “+N more”. Hover the cell for Latest enrichment prompts, a tooltip listing every prompt and version used on that product. It is the quickest way to spot products still carrying content from an older prompt version.Resize a column
Drag the handle between two column headers to make a column wider or narrower. Double-click that same handle and the column sizes itself to fit its content, which is the quickest way to read a long description or a full category path without dragging.Set the row height
Use the row height selector in the bottom-right pagination area to control how much space each row takes. Pick the height that fits your task.Set the page size
Next to the row height, pick how many products load per page. A small page size keeps the table quick on a big catalog. A large one means less clicking when you are reviewing a filtered list end to end. WISEPIM remembers your choice, so you set it once instead of on every visit. Your personal view of the products table, including filters, is stored per project on your account, so it follows you to another browser or device. It expires after 24 hours. Clearing your filters is remembered as well, so an old filter never comes back by surprise. On load, an explicit filter in the URL wins, then the project’s default filter, then your remembered view.Work through rows faster
Two table behaviors save a lot of clicking once you know them:- Expand a parent product to see its variants inline, right under the parent row. You can check a whole size or color range without opening each variant.
- Shift-click to select a range. Click the first row, hold
Shift, click the last, and everything in between is selected, ready for a bulk action.
Save a layout
Got a view you like? Save it as a layout so you can switch back to it anytime.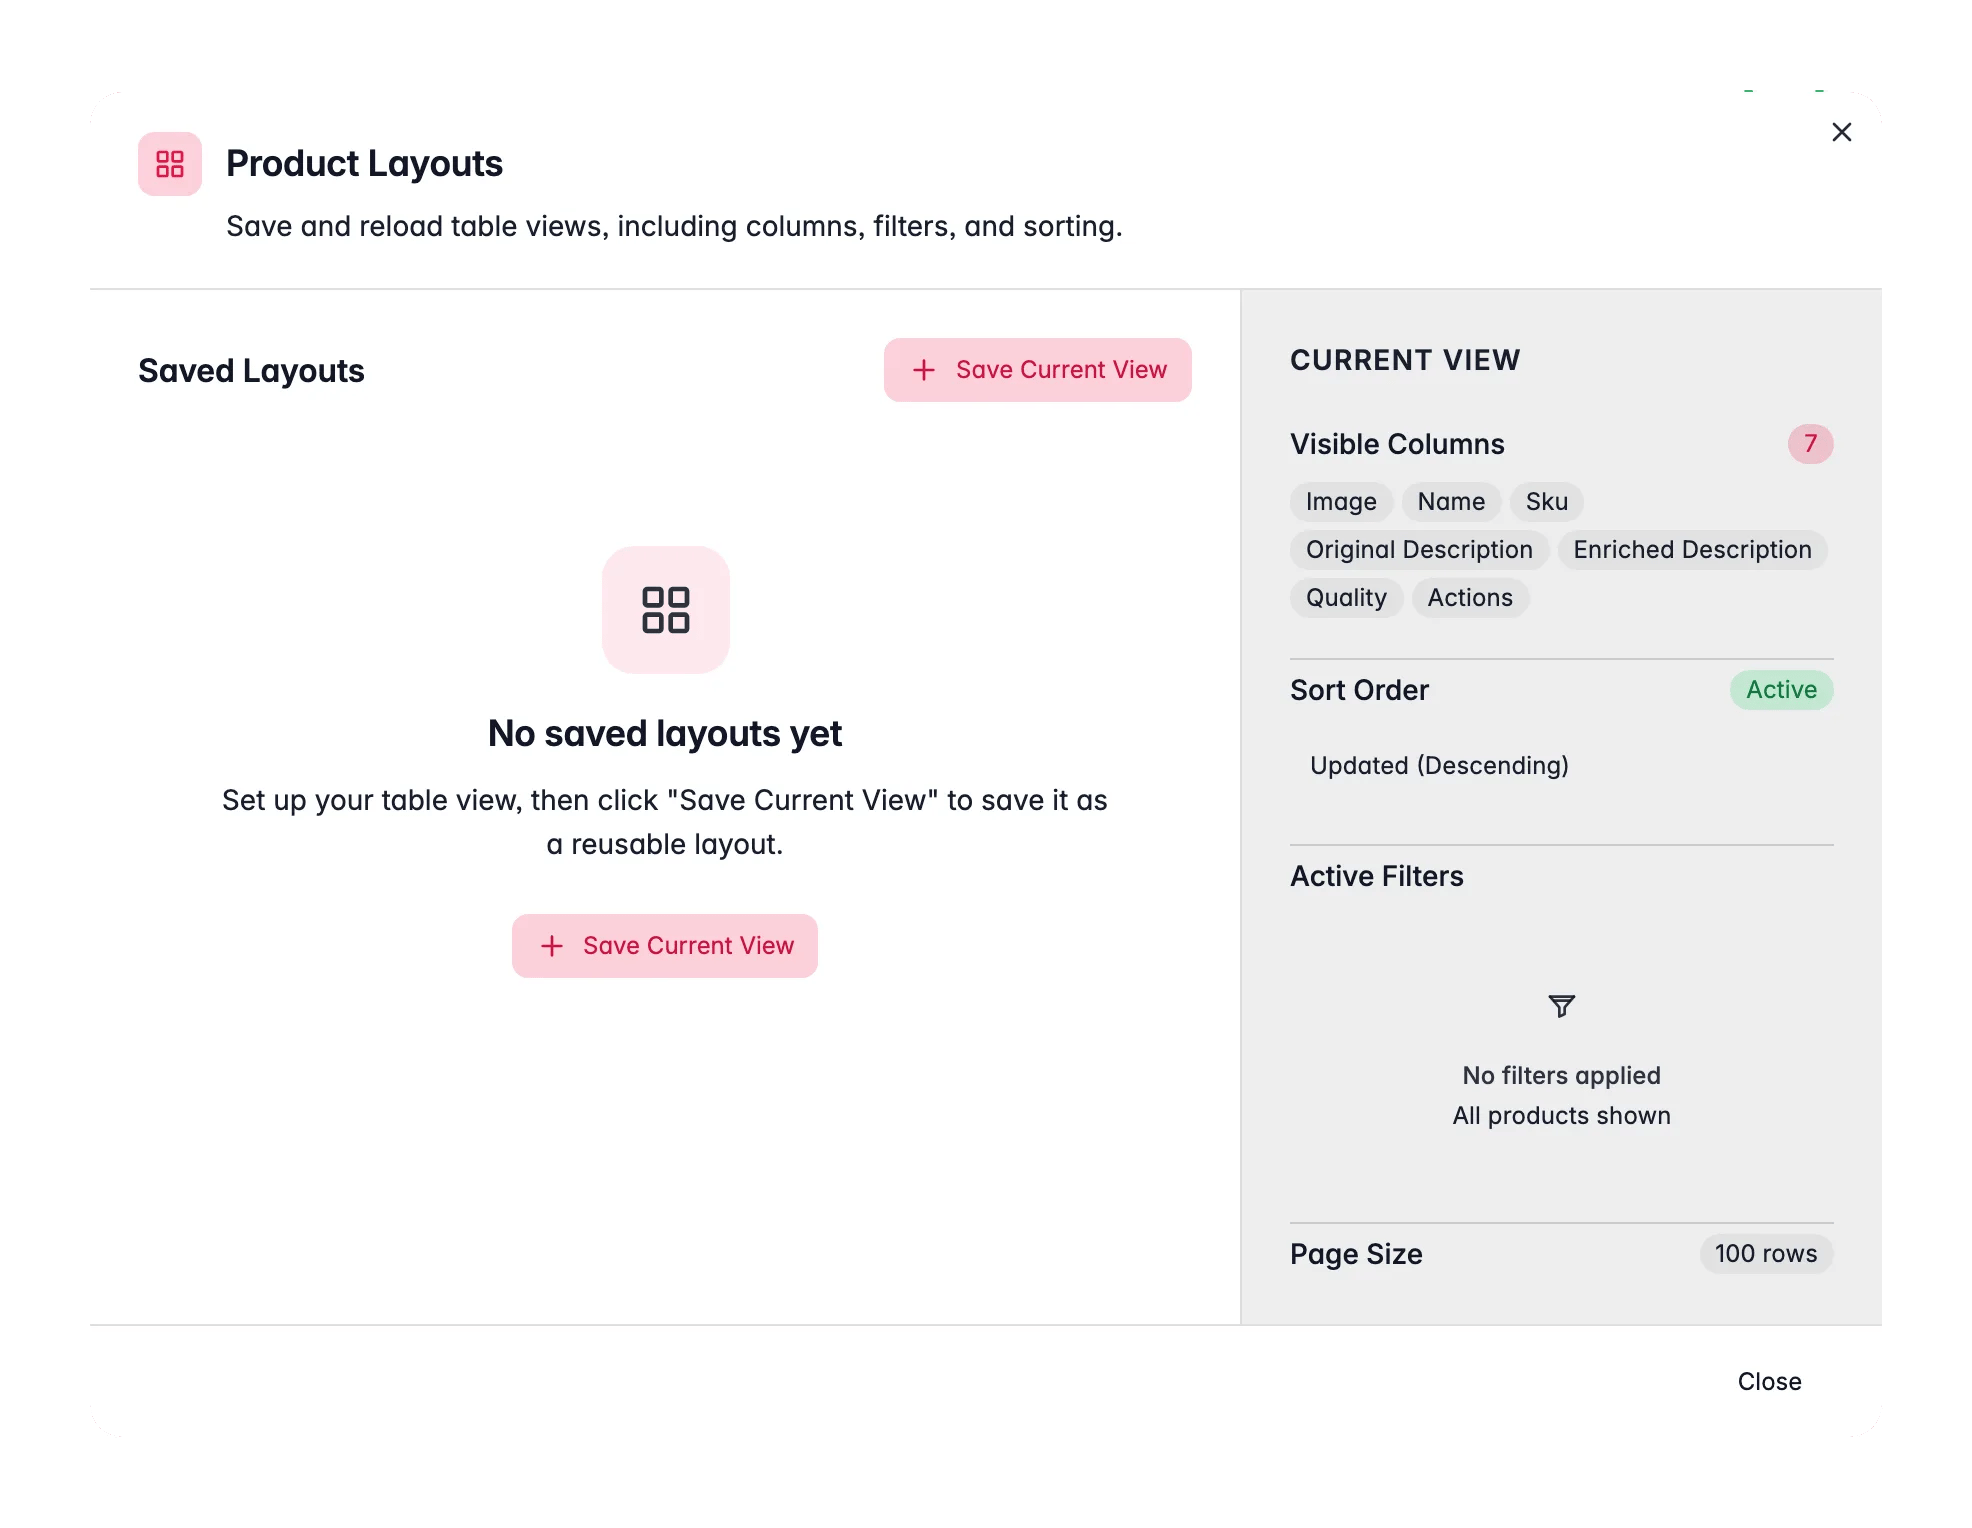
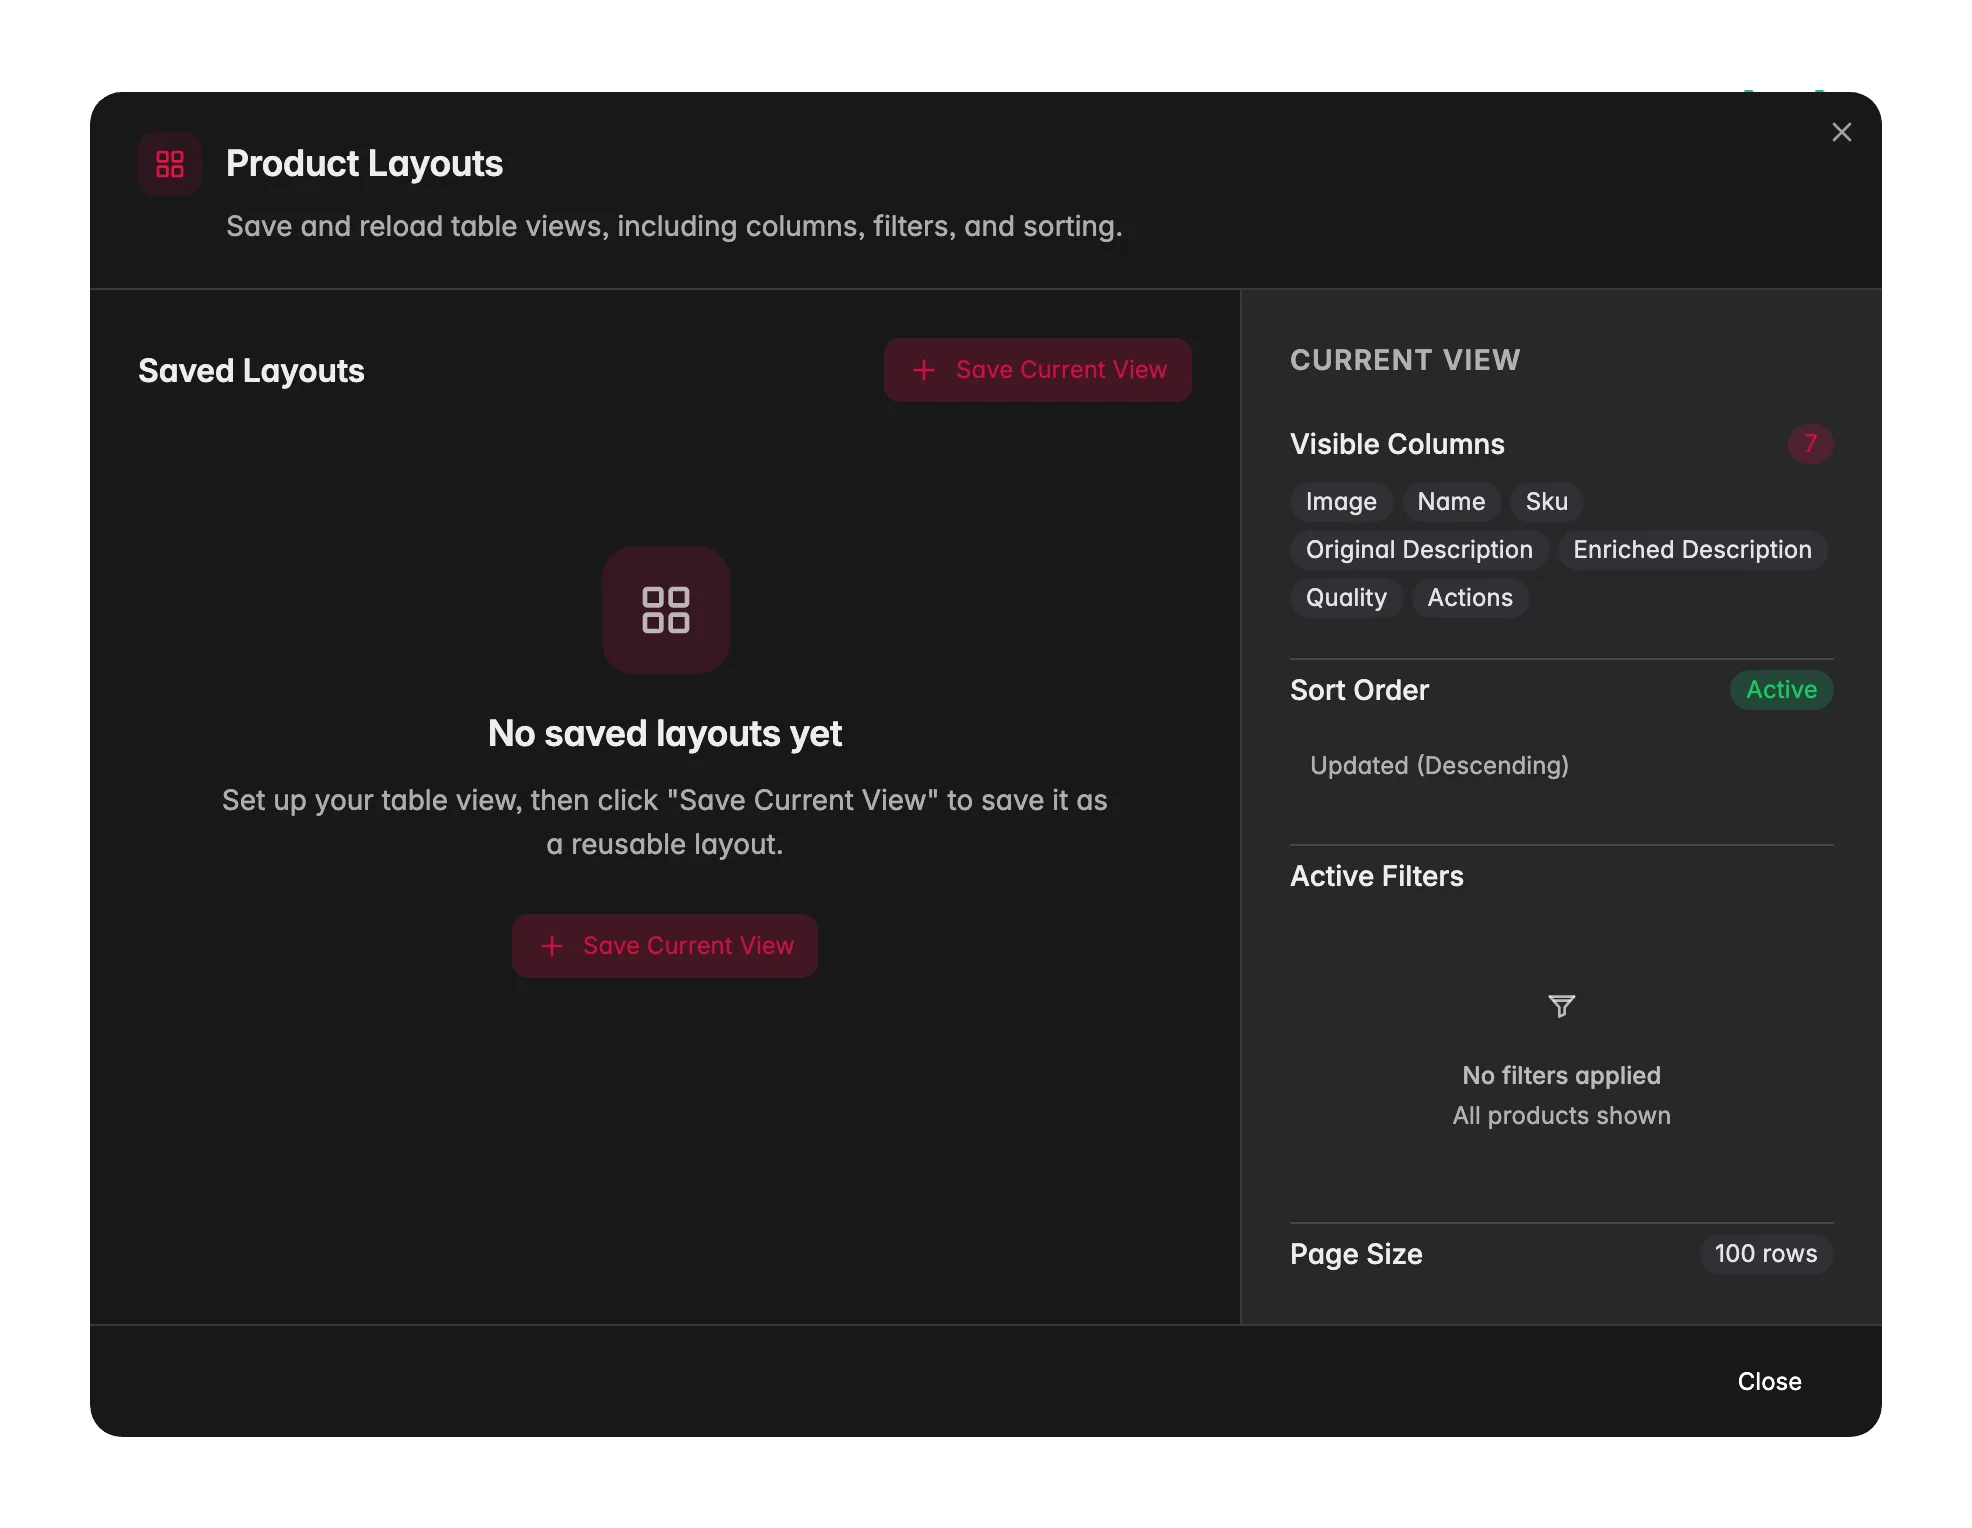
- Visible columns and their order
- Sort settings (which column, which direction)
- Active filters (search query and advanced filters)
- Page size (rows per page)
Create a layout
1
Set up your view
Configure columns, filters, and sorting the way you want them.
2
Open the Layouts modal
Click the Layouts button in the toolbar.
3
Save your current view
Click Save Current View, give it a clear name, and optionally set it as your default.
Switch and manage layouts
To switch, click Layouts and select a saved layout. The active layout name shows as a blue badge on the button. From the Layouts modal you can also:- Apply a saved layout
- Update the active layout with your current changes
- Rename a layout
- Set as default to auto-load it when you open the Products page
- Delete a layout you no longer need
When your current view differs from the active layout, an Update button appears. Use it to save your changes without creating a new layout.
Tips for everyday use
Build a layout per task
Build a layout per task
Set up a layout for each job: a “Daily Review” with status and description columns, a “Price Update” with price and margin columns, or an “Export Prep” with every field your webshop needs.
Set a default layout
Set a default layout
Make your most-used layout the default. The Products page then opens ready for your main workflow every time.
Reset a cluttered view
Reset a cluttered view
Use the Reset to Default button in the column selector to start fresh whenever your view gets too busy.
Related
Filtering products
Narrow the table down, then save the filters as part of a layout.
Product families
See where the custom attribute columns come from.
Bulk editing
Build a layout that makes editing many products at once easier.
Exporting products
Set up an export-ready view with the exact columns you need.