

Every template comes with its nodes pre-configured and connected. After you apply one, you only adjust the settings for your own integrations (for example, which Shopify store to connect, or which AI prompt to use).
Browse the library
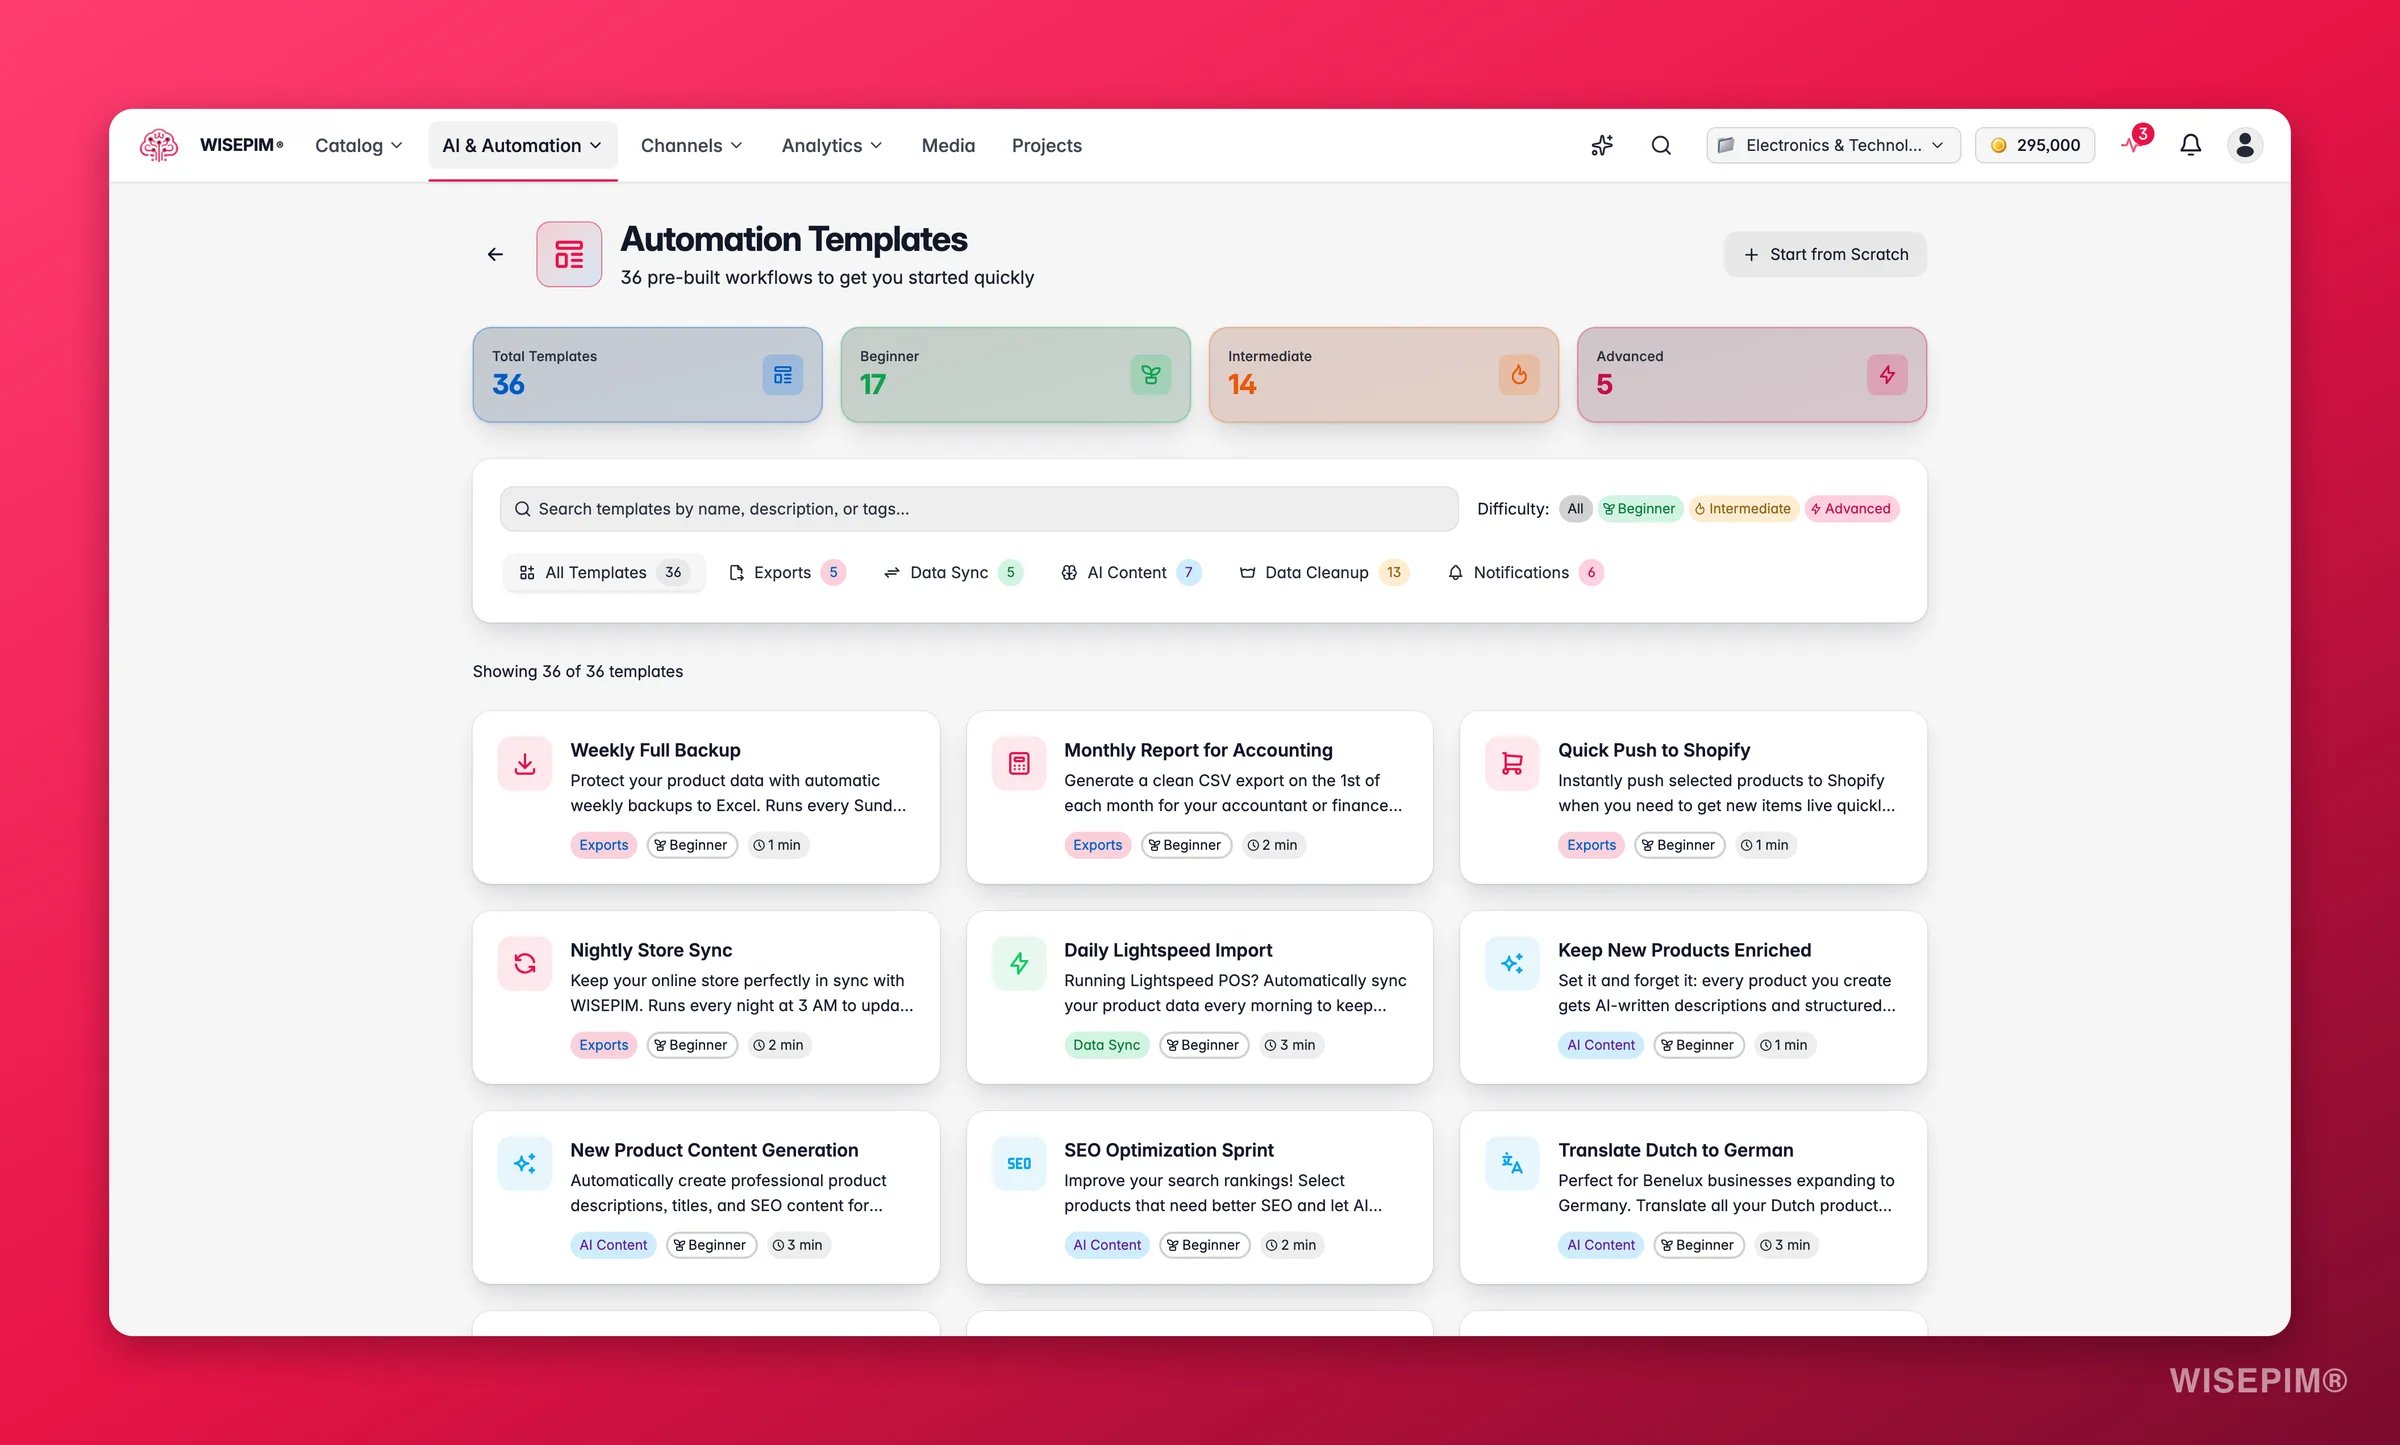
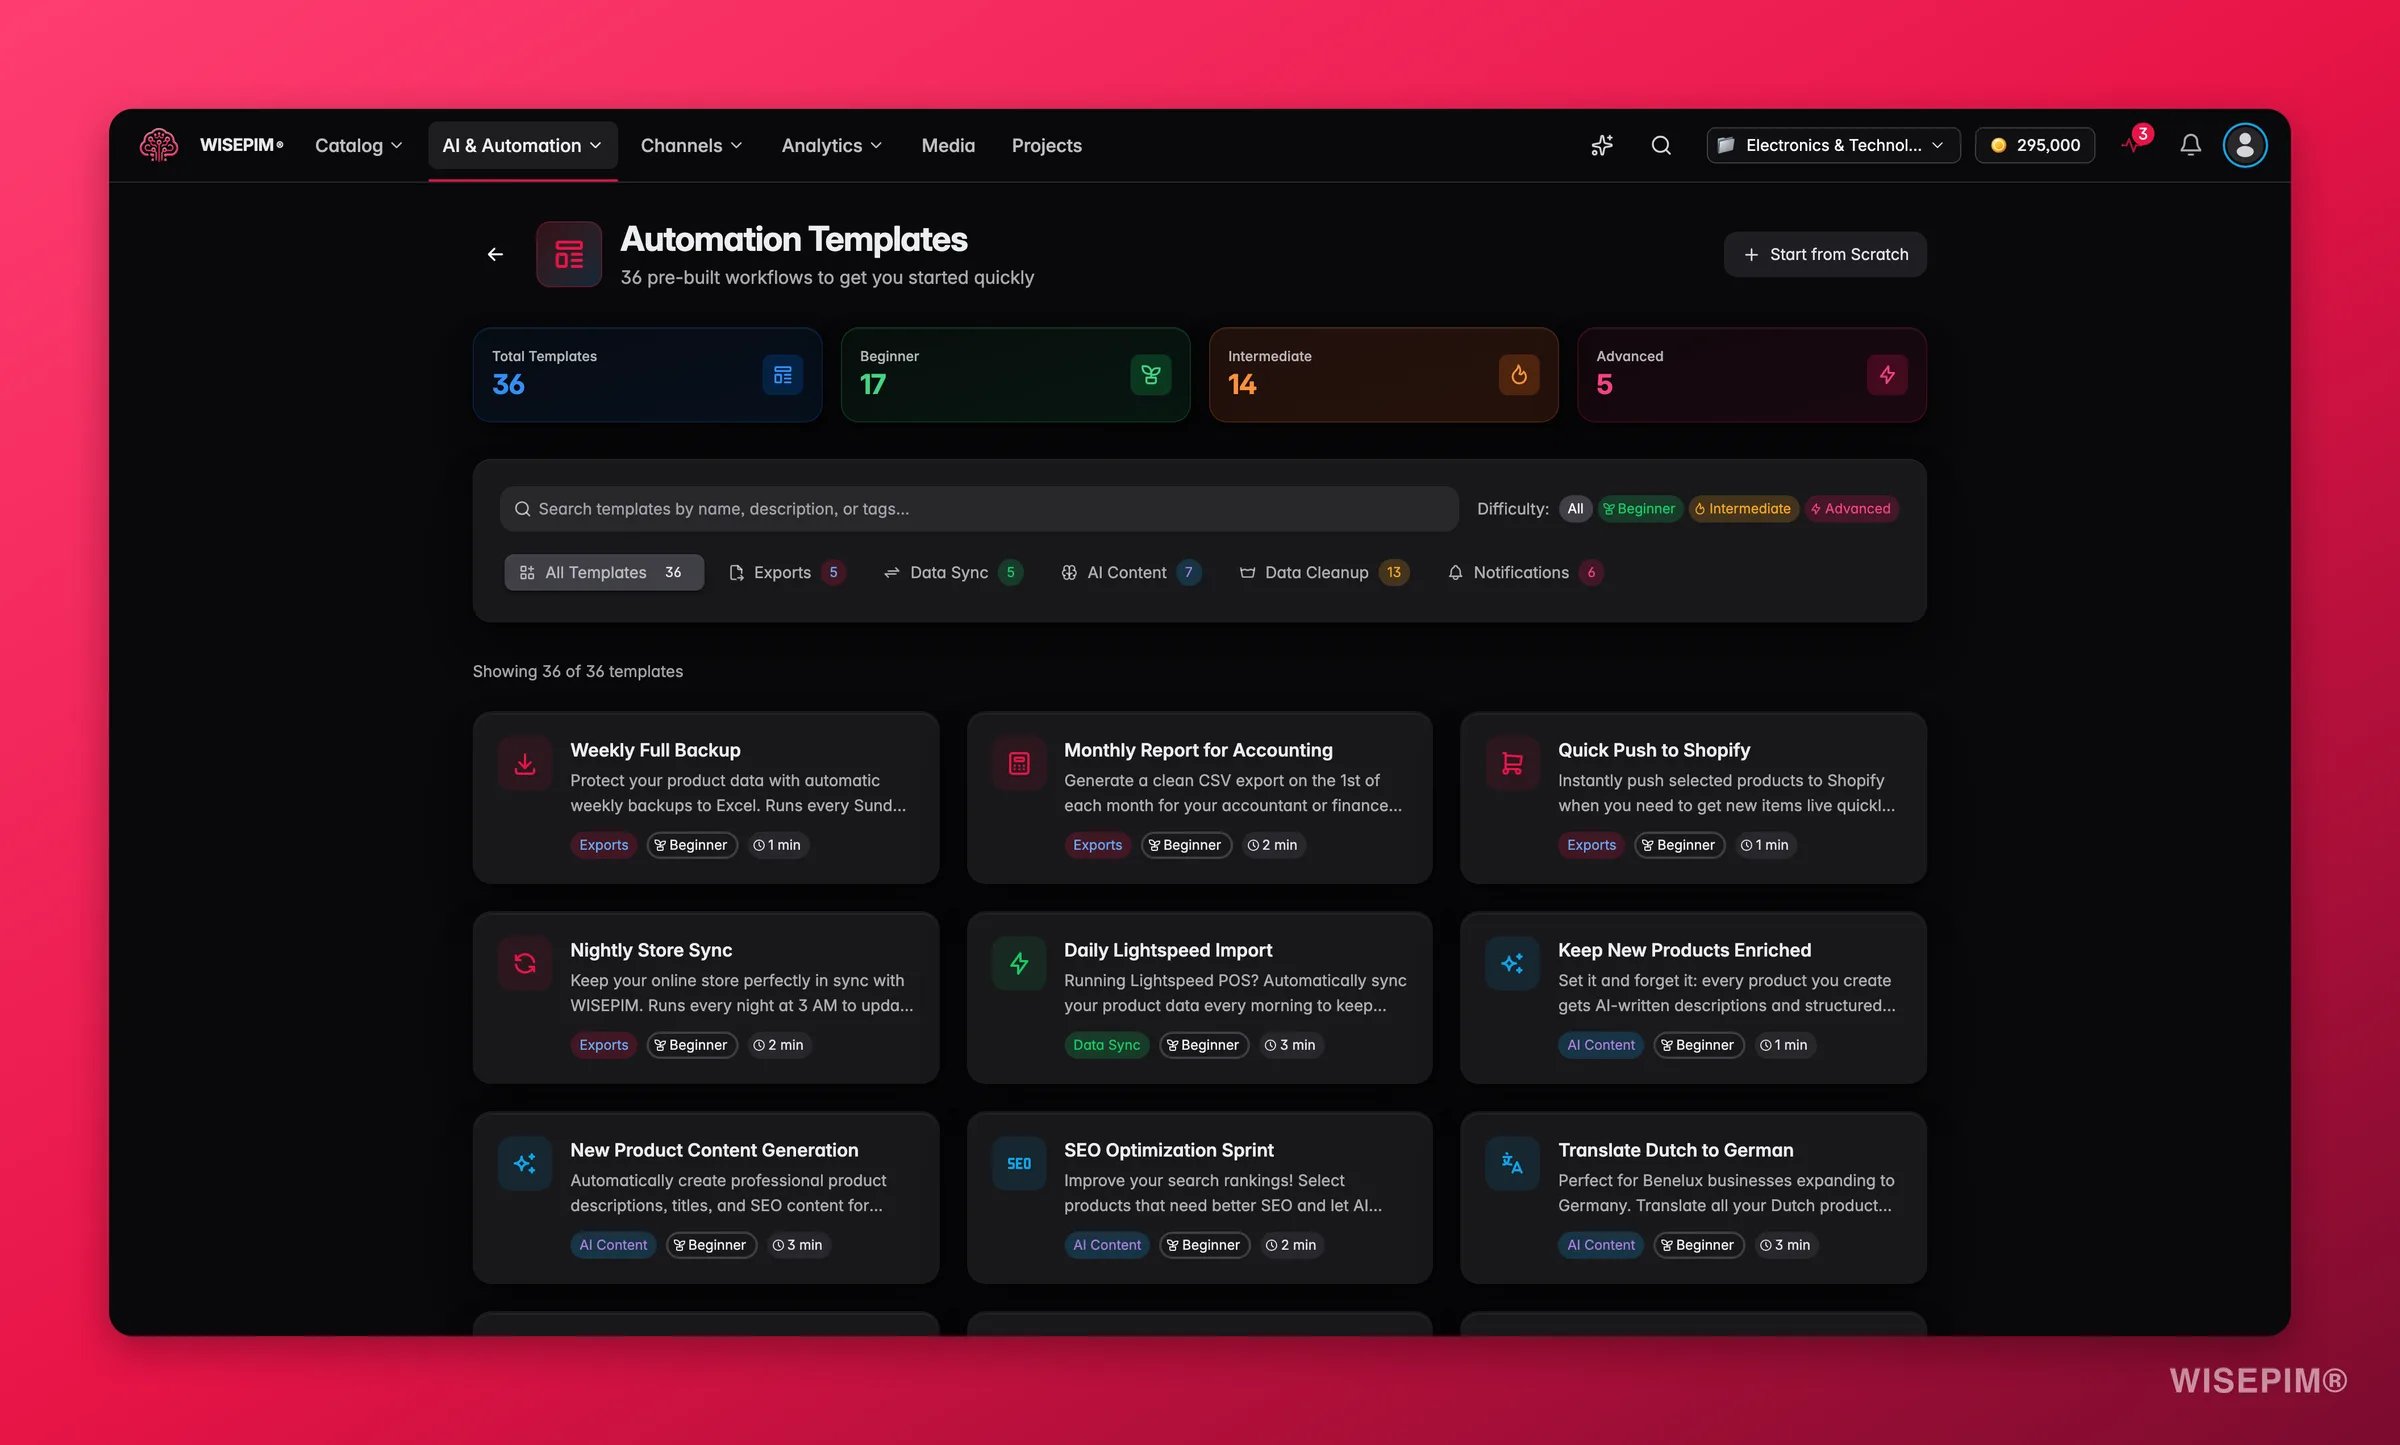
Search by keyword
Use the search bar to find templates by name, description, or tag. Search for “Shopify”, for example, to see every template that uses Shopify.Filter by category
Templates are grouped into five categories. Click a category tab to filter the grid. Each tab shows how many templates it holds.Exports
Backups, reports, and publishing to sales channels: weekly backups, monthly accounting reports, and multi-channel publishing.
Data Sync
Platform migrations and integrations: supplier imports, Magento-to-Shopify migrations, and two-way syncs.
AI Content
Descriptions, translations, and SEO content: content for new products, SEO optimization, and multi-language translation.
Data Cleanup
Pricing, inventory, and data quality: sale setup, price changes, post-import cleanup, and bulk category assignment.
Notifications
Alerts, reports, and integrations: import alerts, daily summaries, team standups, and webhook integrations.
Filter by difficulty
Every template has a difficulty rating. Use it to pick a workflow that matches your experience.Preview a template
Click any template card to expand it and see the details:- Workflow steps: a visual preview of each node and how they connect, from trigger to final action
- Tags: keywords for what the template does and which integrations it uses
- Estimated setup time: how long it usually takes to configure
Apply a template
1
Select a template
Click a template card to expand it and review its workflow steps.
2
Click Use This Template
Click Use This Template at the bottom of the expanded card. This opens the visual builder with the template loaded.
3
Configure the nodes
Click each node to review and adjust its settings. A green checkmark means a node is ready. An amber settings icon means it still needs attention.
4
Save your automation
Once every node is configured, name your automation and save it.
Applying a template creates a new automation. It never changes the original template, so you can reuse the same template to create different variations.
Browse all templates
Exports
Extract data, run backups, and publish to your sales channels.Data Sync
Migrate between platforms and keep integrations in sync.AI Content
Use AI to generate and improve your product content.Data Cleanup
Fix pricing, inventory, and data quality.Notifications
Keep your team informed and connect to outside systems.Customize a template
After you apply a template, you can change it freely in the visual builder: add or remove nodes, change settings, swap triggers, or add parallel branches. Templates are starting points. Shape them to fit your exact workflow.Related
Visual Builder Guide
Learn everything the visual automation builder can do.
Automations Overview
Manage, monitor, and track all your automations from one dashboard.